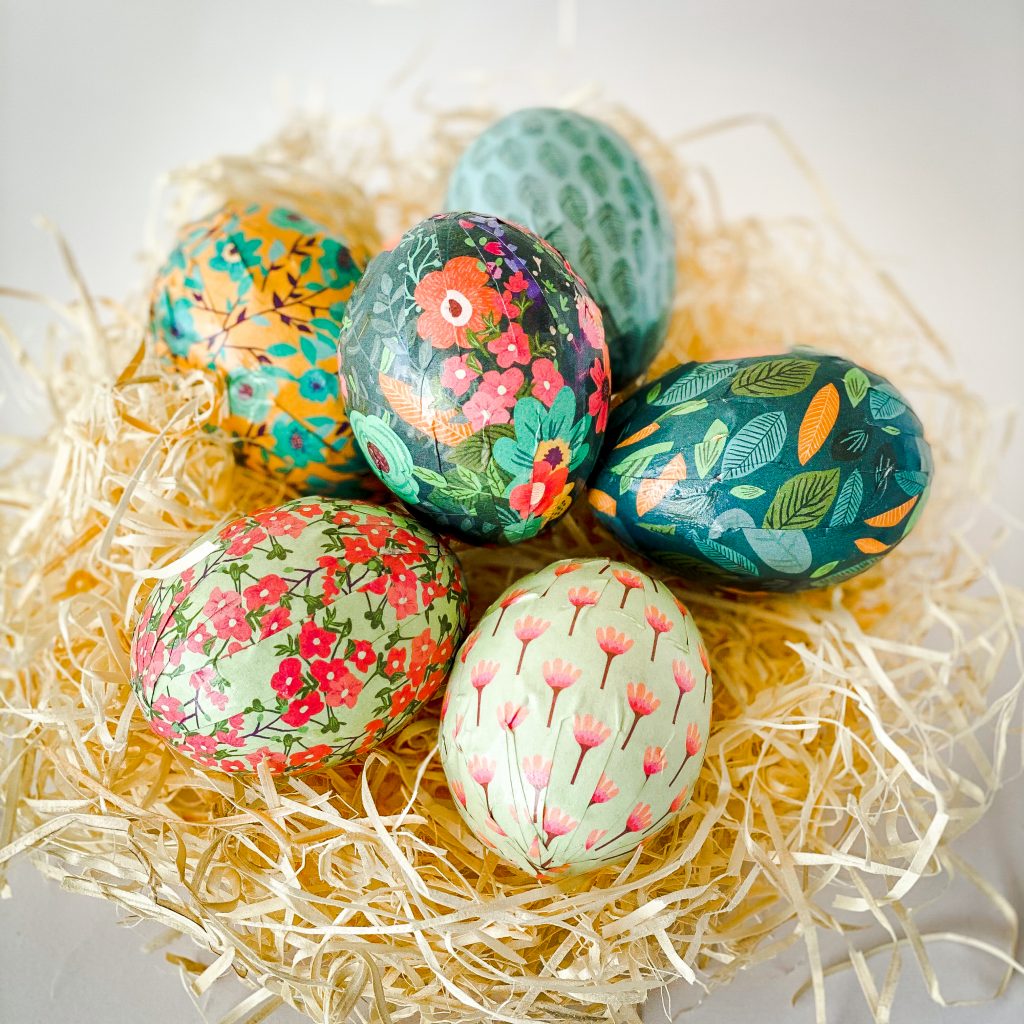
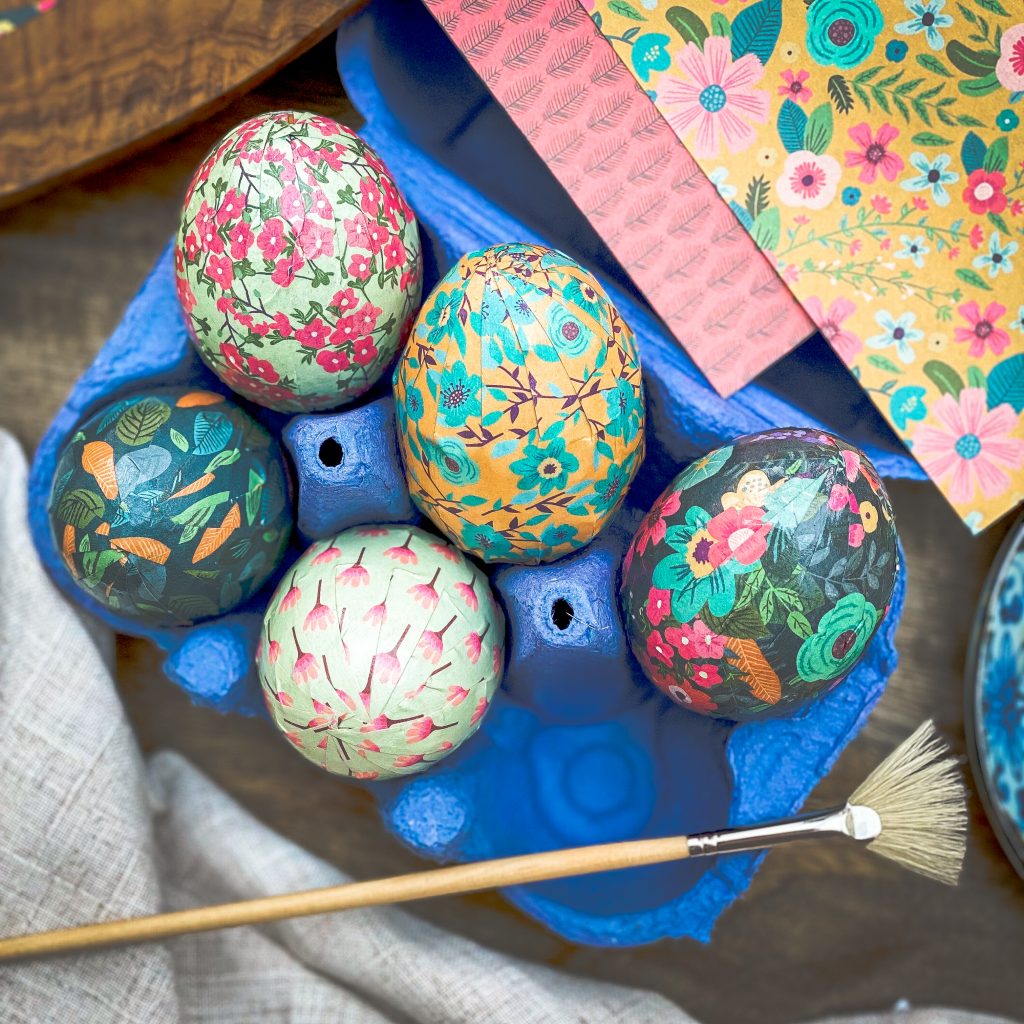
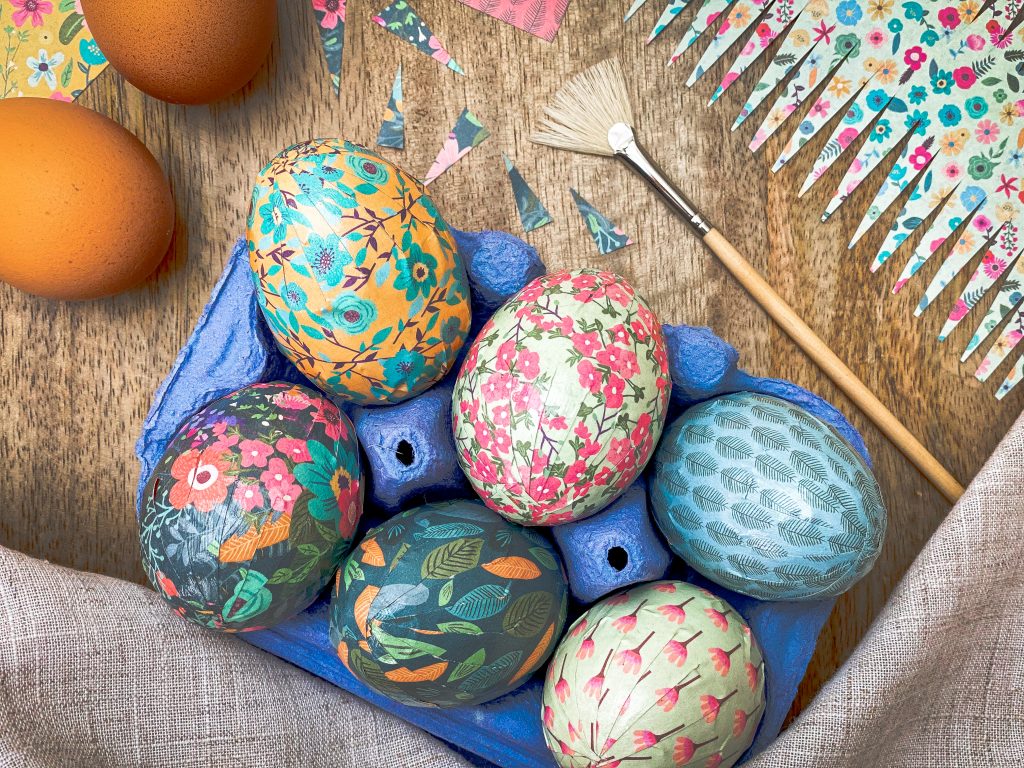
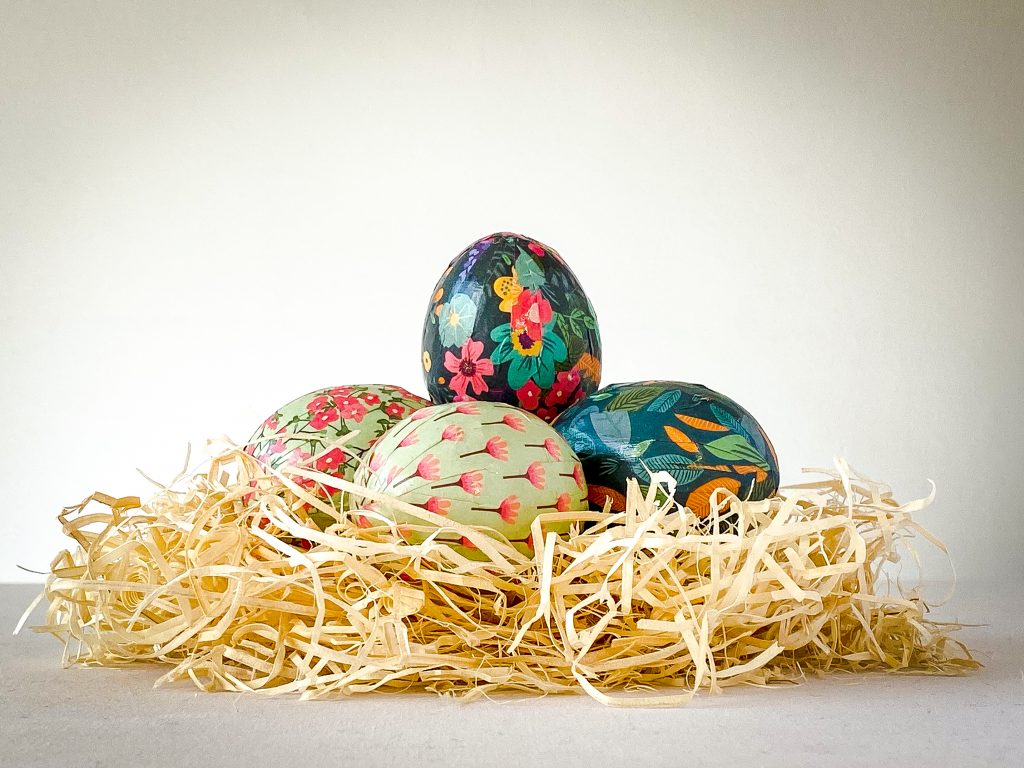
Lexus guide to creating decorative washi eggs for Easter
Lexus is well-known for featuring rich and varied Japanese design and craftsmanship in its cars. For example, The UX hybrid SUV is available with a dashboard trim inspired by washi, the grained paper used for the shoji sliding screens found in traditional Japanese homes. The inlays are not made of paper, but have a similar textured look, in a range of different colours.
A light form of washi paper is frequently used in Japanese arts, so as a fun crafting activity for the Easter holidays, Lexus has produced a guide to making traditional Japanese washi eggs, inspired by both origami folding and kirigami cutting techniques, fusing Japanese heritage with a global spring tradition.
‘Washi’ literally means ‘Japanese paper’ (wa = Japanese and shi = paper). This lightweight yet durable material has been crafted in Japan for the past 1,500 years and is most commonly made from the long plant fibres of the paper mulberry tree. It is very strong and holds together well.
Linda Marshall, founder of Japanese paper specialist Washi Arts said: “Quite often you see eggs covered in decorative, hand-screened chiyogami paper (sometimes called yuzen) which is wonderful to work with. The detailed patterns lend themselves to making washi eggs and there are hundreds of different contemporary and traditional designs to choose from.”
How to make washi eggs
Washi eggs are colourful, and surprisingly simple to make, using traditional methods and simple origami paper squares. For a more premium, takumi (craftsman) style finish, traditional hand-made washi can be used, such as hand-stencilled katazome-shi, which is strong, supple, long lasting and a great to work with.
This activity is suitable for children aged seven and older, although the cutting requires sharp scissors and an adult’s guidance, as does the optional egg-blowing. Once you’ve finished your washi egg, share your photos of it on social media, tagging @LexusUK.
Materials:
- Six hens’ eggs, preferably a large size; ceramic or wooden eggs can be used as an alternative
- Six sheets of patterned washi or origami paper, measuring at least 9cm x 15cm, with a weight of 70gsm (similar to that of printer paper).
- Scissors
- PVA glue
- Paper varnish (or watered-down PVA glue)
- A small/medium art paintbrush, with soft bristles
- Ruler
- Pencil
- If using hens’ eggs, you will need to blow out egg from the shell: it’s easier than it sounds and there are plenty of “how-to” videos online. When empty, submerge the eggs in hot soapy water, allow them to fill slightly, then blow again. Leave to air-dry in a warm place for 24 hours.
- Cut the paper into a rectangle, measuring 9cm x 15cm (see photo 1). Check that the 15cm length wraps all around the ‘waist’ – the widest circumference – of the egg, ensuring two to five millimetres of overlap, then cut away any excess paper.
- Bend, but don’t crease the paper in half lengthways, ensuring that the edges line up. Make a 3.5cm cut every 7mm, making sure to snip both sides of the paper equally (photo 2). Continue all along the 15cm length, making a fringe. When finished, open the paper out.
- Cut each individual fringe piece diagonally, to around 2.5cm down its length rather than the full 3.5cm. Do this on both sides, and each fringe piece should be identical (photo 3).
- Apply PVA glue to the ‘spine’ of the paper on its non-patterned side, and wrap it around the waist of the egg (photo 4). As you position the paper, ensure that the fringe pieces can meet at both the top and bottom of the egg, then smooth the glued paper around the egg (photo 5).
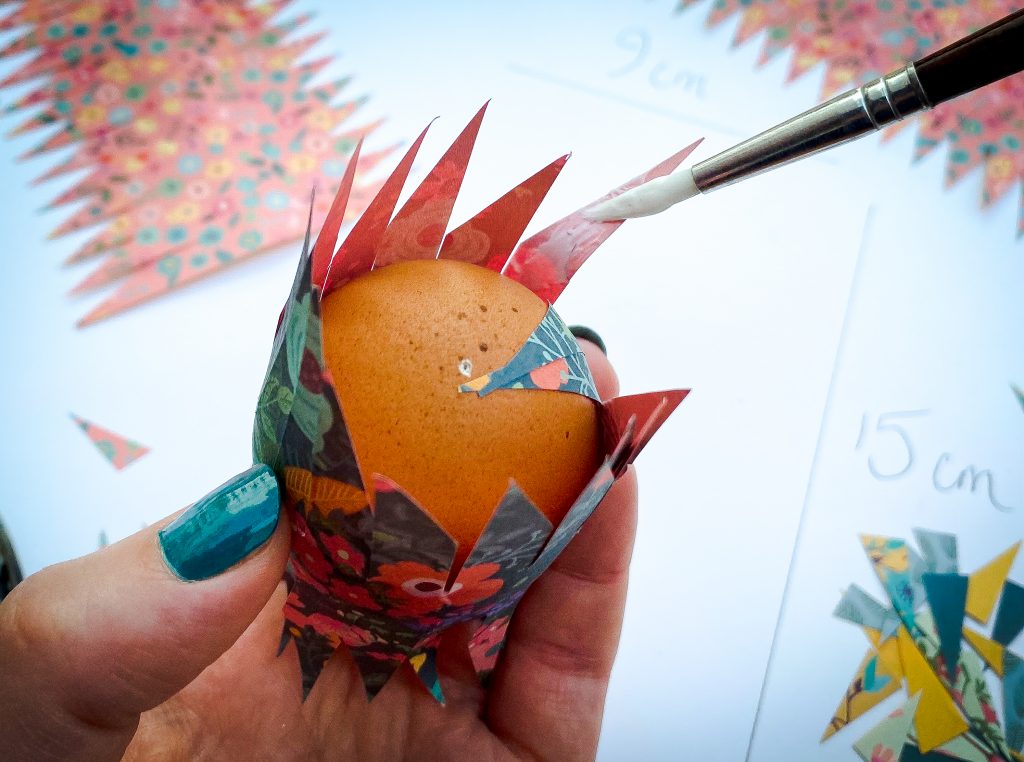
- Stick the fringe to the egg by applying glue to the non-patterned side of three consecutive fringe pieces, then carefully smooth them onto the surface, one at a time (photo 6). Continue working around the egg, anticlockwise.
- The fringe tips should meet in the middle or slightly overlap (photo 7), but if they don’t quite join up, don’t worry: just glue a small fragment of patterned paper directly onto the ‘bald’ spot, then stick the fringe pieces on top.
- When you’ve glued one fringe, repeat steps 5 and 6 on the other side (image 8). Then, leave it to dry according to the glue instructions (usually 1-3 hours).
- Holding the bottom of the egg, apply varnish to its top half, making sure that the brush doesn’t scratch the paper pattern. To dry, place it in an egg cup or rest it in a bowl filled with uncooked rice. Finally, repeat this step on the unvarnished half.
NB: if the wrapping technique looks too tricky, you can simply glue small pieces of patterned paper to the eggs, decoupage-style, or stick strips of adhesive washi tape to them. For a long-lasting finish, varnish the eggs according to step 9.
ENDS

